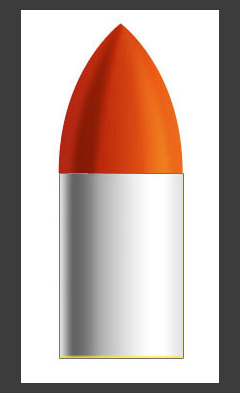
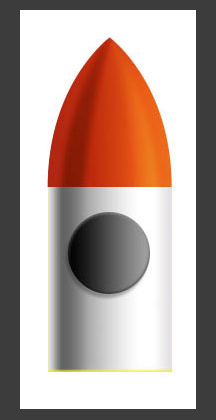
In this tutorial, we will show you how to design a cute rocket icon in Photoshop. Learn some useful techniques for creating more visually impressive icons. The procedure used to create the rocket is simple and easy to understand, using tools such as the Gradient Tool and the Polygonal Lasso Tool. A strong proficiency in drawing shapes is needed. In this tutorial, easy steps and techniques are shown to help you design a simple yet attractive projector icon. It’s easy to follow and to play with. We’ll walk you through the process of creating the takeout coffee cup from start to finish, exploring a wide variety of techniques in Photoshop that can be applied to almost any type of design and drawing.
This tutorial assumes a basic understanding of the Adobe Photoshop software package, and was created using version CS6, however I think CS3+ can perform most if not all of the same tasks.
Final Result
![]()
Step 1
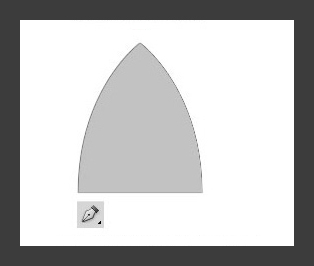
Use the pen tool to draw the outline of the head of the rocket.
Step 2
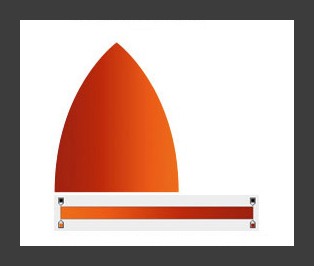
Fill the gradient in the layer properties and you can choose the color you like.
Step 3
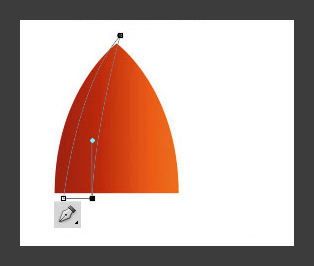
Use the pen tool to draw the dark part of the head and convert it into a selection.
Step 4
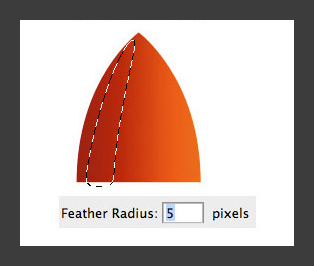
Feather the selection and choose the appropriate pixels, then it can show the transition effect.
Step 5
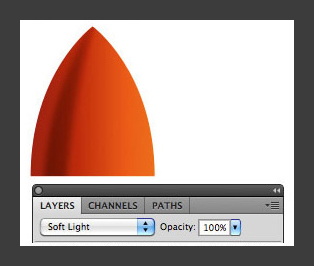
Fill it black and select the “SoftLight” of the overlay mode to show the dark part of the head of the rocket.
Step 6
Same as above, fill it white and select “Overlay” of the overlay mode and adjust the transparency to 30% to show the light part of the head of the rocket.

Step 7
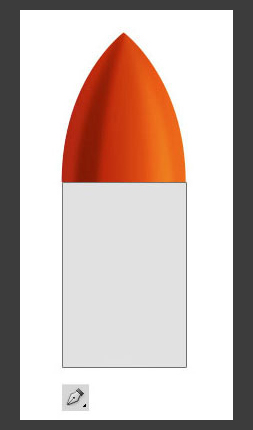
Use the pen tool to draw the outline of the body of the rocket.
Step 8
Add the gradient effect to show the luster of the metal.
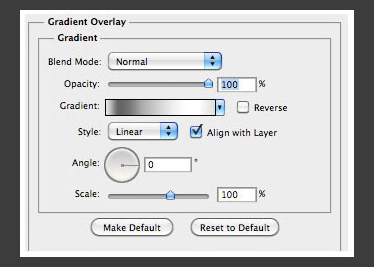
Step 9
Add reflection to the bottom to reflect the warm color-flame.
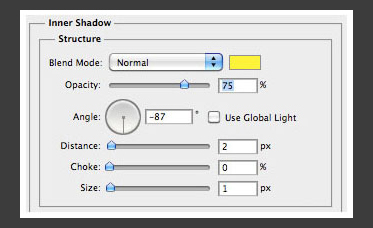
Step 10
Use the path tool to draw a circle and add the embossing effect to show the thickness of the window.
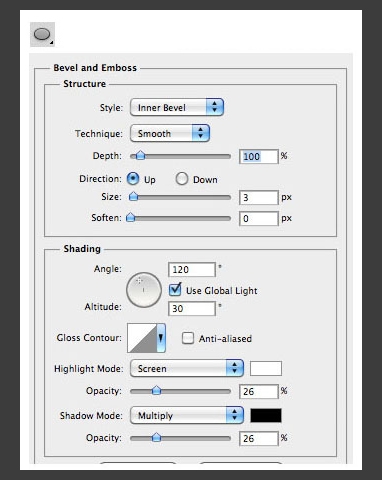
Step 11
Add the gradient effect to show the radiant of the window.
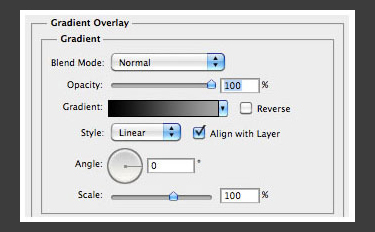
Step 12
Add the shadow to show the space sense of the window and these details are for increasing the three-dimensional appearance of the rocket.
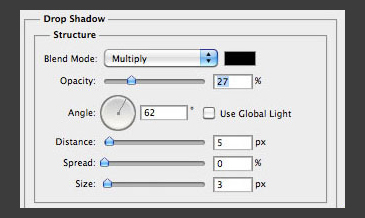
Step 13
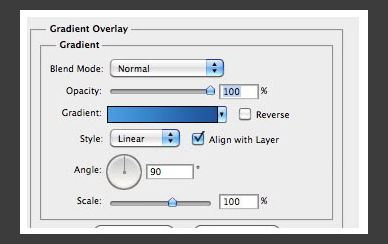
Add the gradient effect to show the sense of permeation of the glass. The blue color is always so mystery that it makes people guess constantly what is happening in it. However, I can responsibly tell you that it is the back ground layer behind the window, please do not think otherwise.
Step 14
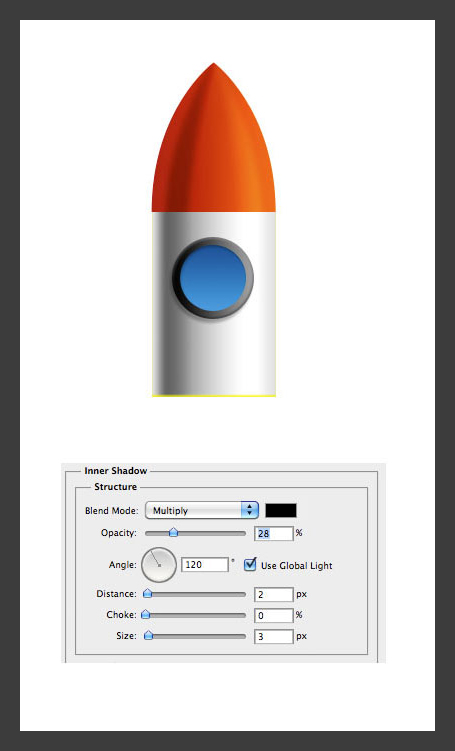
Add the shadow to show the depth of the glass.
Step 15
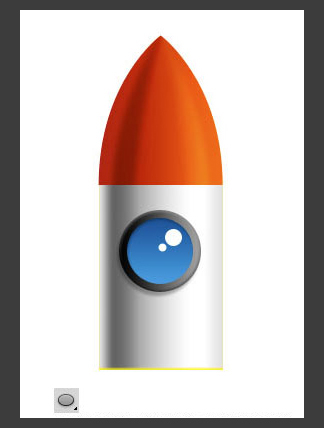
Use the path tool to draw two circles to show the highlight of the glass.
Step 16
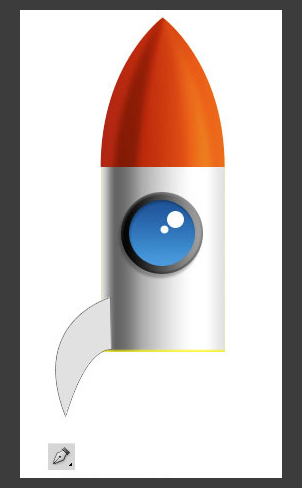
Use the pen tool to draw the outline of the empennage.
Step 17
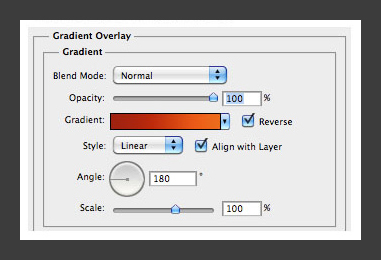
Add the gradient effect to show the luster of the empennage.
Step 18
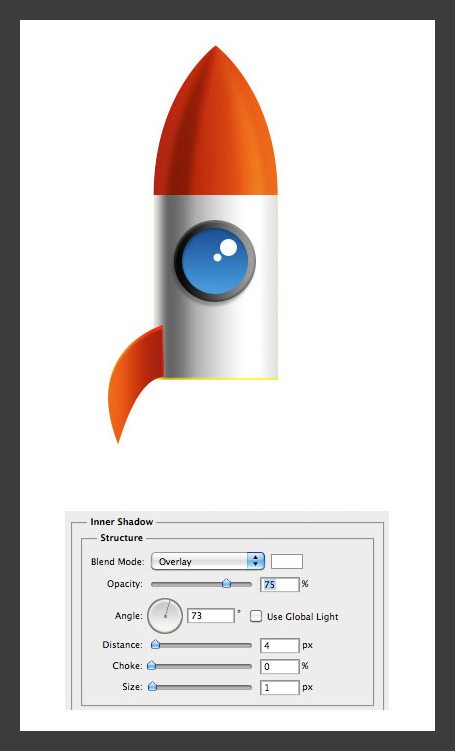
Add the inner shadow and adjust the overlay mode to “Overlay” to show the thickness of the empennage.
Step 19
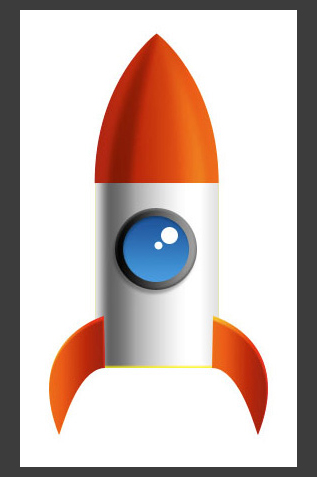
Copy and reverse it to become the empennage on the right.
Step 20
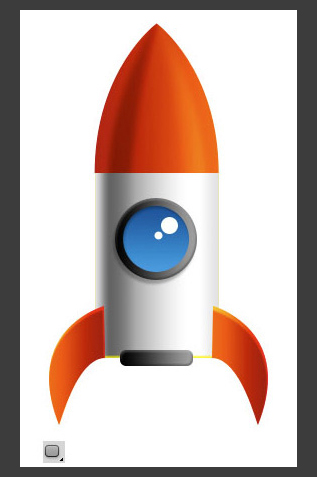
Use the rounded rectangle tool to draw the injection orifice of the rocket and the layer effect is the same to the window.
Step 21
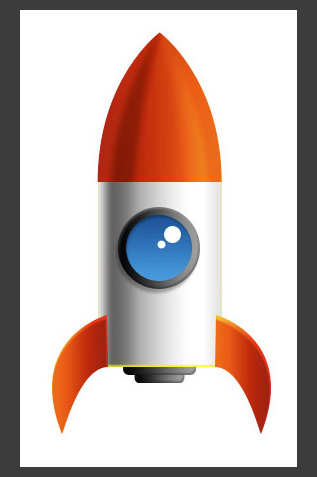
Move the injection orifice to the last layer and copy as well as scale one to form the injection orifice of the second layer.
Step 22
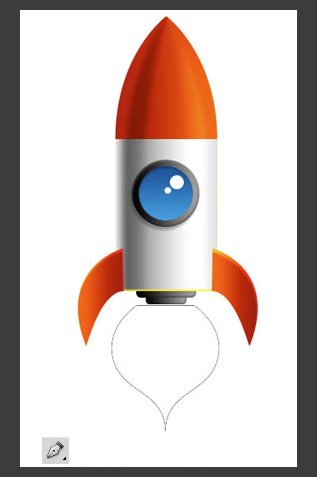
Use the pen tool to draw the radish-flame.
Step 23
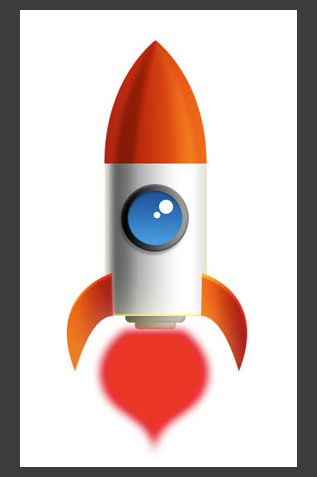
Feather the selection, fill it red and draw the out layer of the flame.
Step 24
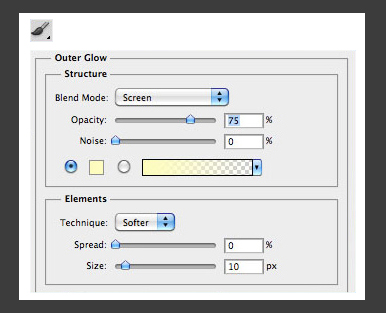
Similarly, draw the inner flame, fill it white and add “Outer Glow” in the layer effect.
Step 25
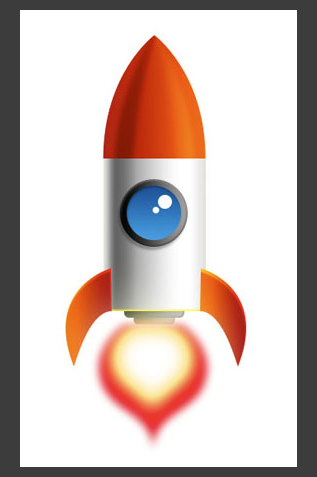
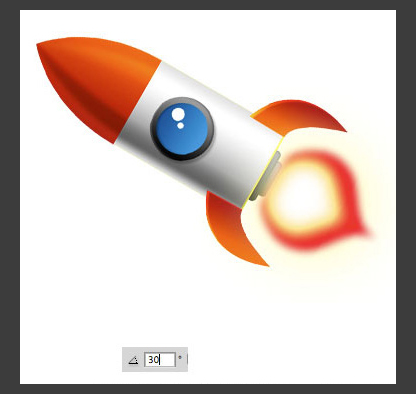
The profile of the rocket is basically completed. Select the rocket and all the layers are merged. Rotate it to the right angle and ready it to launch.
Step 26
Add the gradient blue background to build the atmosphere of the space.

Step 27
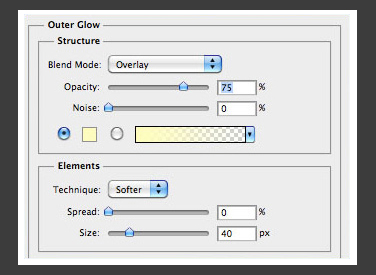
Add the “Outer Glow” effect to the whole rocket to make the small rocket more prominent.
Step 28
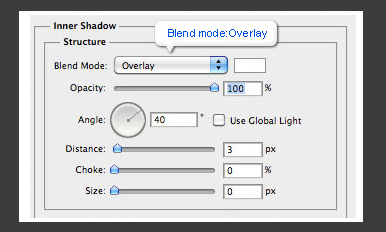
Add the “Inner Shadow”effect and adjust the mode to “Overlay” to show the backlighting effect of the rocket. More light more dazzling of the picture.
Step 29
Use the brush tool of different size to dot the stars and add the “Outer Glow” effect on the dots to show the sparkling feeling.
Final Result
![]()
